By 2026, an estimated 12% of commercial structures in South Carolina built before the 1980s will require some form of structural intervention, making asbestos abatement myrtle beach a critical priority for property managers and developers. You’re likely aware that even minor structural modifications can release hazardous particulates, creating liabilities that extend far beyond simple health codes. It’s a high-stakes environment where the margin for error is zero and technical precision is the only safeguard against long-term risk.
We’ll provide a technical, step-by-step protocol for professional remediation that ensures your project meets EPA and SCDHEC standards while maintaining total structural integrity. This guide breaks down the specific containment technologies, negative pressure filtration requirements, and contractor vetting frameworks necessary for a successful 2026 abatement project. From initial site characterization to the final air clearance report, we’ll give you the engineering-grade roadmap needed to manage hazardous materials with absolute certainty.
Key Takeaways
- Understand the vital distinction between simple removal and professional abatement to ensure full compliance with EPA NESHAP and OSHA safety regulations.
- Evaluate the technical benefits of full removal versus encapsulation to determine the safest and most cost-effective long-term strategy for your facility.
- Follow our comprehensive 5-step protocol for asbestos abatement myrtle beach, including the establishment of critical barriers and negative pressure zones.
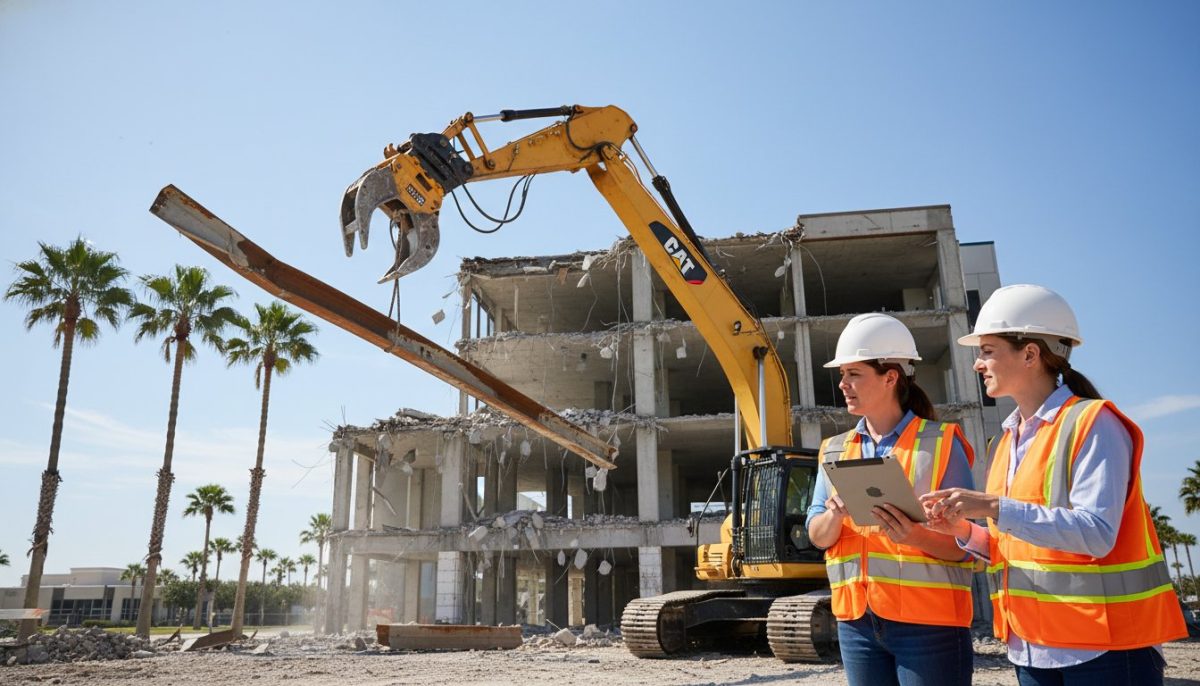
- Learn how to integrate hazardous material remediation with structural demolition to maintain project momentum without compromising on engineering precision.
- Gain insights into specialized filtration and containment techniques that secure the structural integrity of your site during complex abatement procedures.
Defining Professional Asbestos Abatement and Remediation
Professional asbestos abatement myrtle beach involves a rigorous, engineering-based process of identifying, containing, and either removing or encapsulating asbestos-containing materials (ACM). It’s a specialized discipline that requires technical precision. While simple removal might seem straightforward, professional abatement utilizes sophisticated asbestos abatement procedures to ensure that microscopic fibers don’t migrate through a building. This process includes the installation of physical barriers and the use of high-efficiency particulate air (HEPA) filtration systems to maintain negative pressure environments.
Maintaining structural integrity is a central priority for any project. Removing insulation from support beams or stripping materials from aging coastal foundations can weaken a building’s core if not managed by experts. In Myrtle Beach, approximately 75% of commercial and residential structures built before 1980 contain some form of ACM. These materials are most commonly found in:
- Thermal system insulation around boilers and pipes
- 9×9 inch vinyl floor tiles and associated mastic adhesives
- Spray-applied “popcorn” ceiling textures
- Transite siding and cementitious roofing shingles
The Difference Between Friable and Non-Friable Asbestos
Friable asbestos refers to material that can be crumbled or reduced to powder by hand pressure. This category includes pipe lagging and sprayed fireproofing. It’s the most dangerous form because it easily releases fibers into the air. Non-friable materials, like floor tiles or roofing, keep fibers locked in a solid matrix. These pose a lower immediate risk but become hazardous during demolition or when subjected to mechanical force. Engineering controls for friable materials require full-scale containment with three-stage decontamination units to ensure zero fiber release.
Why Professional Remediation is Non-Negotiable
Inhaling a single microscopic fiber can lead to mesothelioma or asbestosis, diseases that often stay dormant for 20 to 50 years before surfacing. DIY attempts often lead to secondary contamination, where fibers settle into HVAC ductwork and carpets, creating a permanent health hazard. Beyond health, property owners face massive liability risks. South Carolina DHEC regulations are strict; improper handling can result in fines exceeding $25,000 per day. Professional asbestos abatement myrtle beach ensures that every project reaches the 0.01 fibers per cubic centimeter clearance level necessary for safe occupancy.
Federal Compliance: Navigating EPA and OSHA Abatement Regulations
Compliance in the hazardous material sector isn’t a suggestion; it’s a rigorous legal mandate. Two primary federal agencies dictate the safety parameters for every project. The Environmental Protection Agency (EPA) focuses on environmental protection and public health, while the Occupational Safety and Health Administration (OSHA) enforces strict workplace safety standards. For any commercial asbestos abatement myrtle beach project, South Carolina DHEC requires a written notification at least 10 working days before work begins. This window allows regulators to inspect the planned containment strategies and ensure the project adheres to Federal asbestos regulations. Only SC DHEC-licensed professionals and certified inspectors possess the legal standing to handle these materials, as they’re trained to manage the high-risk variables inherent in structural disturbance.
Understanding NESHAP Standards
The National Emission Standards for Hazardous Air Pollutants (NESHAP) governs how asbestos is handled during renovation and demolition. It enforces a “no visible emission” rule, meaning any dust or debris escaping the containment area constitutes a federal violation. Contractors must saturate materials with amended water to prevent fiber release. Every pound of waste requires detailed documentation through a Waste Shipment Record (WSR). This paperwork proves the material reached a Class 3 landfill authorized for hazardous waste disposal, ensuring a permanent, legal paper trail for the property owner.
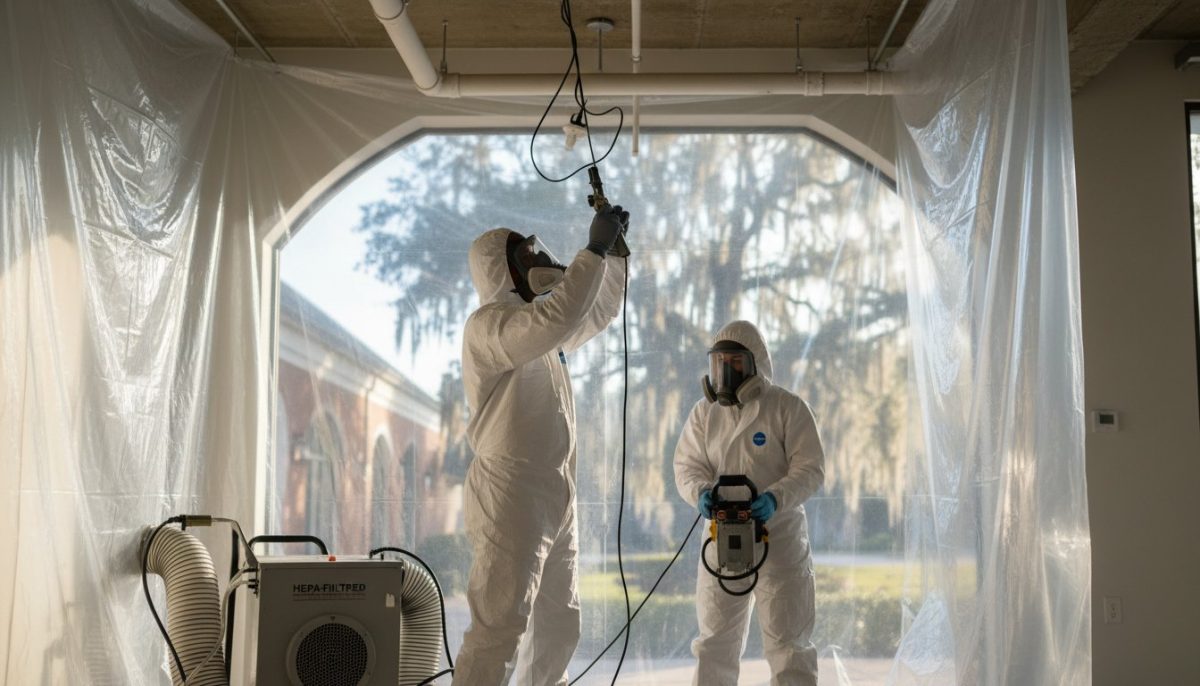
OSHA Workplace Safety Protocols
OSHA standard 1926.1101 defines the protective measures required for the workforce. Technicians must utilize full-body Tyvek suits and P100 HEPA-filtered respirators to prevent inhalation. Entry and exit occur through a three-stage decontamination enclosure, which includes a clean room, a shower area, and a “dirty” equipment room. This prevents cross-contamination of the surrounding environment. Site supervisors conduct daily air monitoring to verify that fiber counts remain below the Permissible Exposure Limit (PEL) of 0.1 fibers per cubic centimeter. If a sample exceeds this 0.1 f/cc threshold, the site is shut down immediately for remediation of engineering controls.
Managing these high-stakes technical requirements demands a partner who understands the intersection of safety and structural integrity. For complex industrial or commercial sites, a technical consultation can help define a compliant path forward that protects both your personnel and your investment.
Identifying Risks: When to Choose Abatement Over Encapsulation
Selecting the right remediation path requires a cold assessment of the building’s ten year lifecycle. While encapsulation offers a lower initial price point, it’s often a temporary deferment of a permanent liability. In the 2026 Myrtle Beach market, property owners must weigh the immediate savings of sealing against the long term costs of specialized maintenance. Professional asbestos abatement myrtle beach is the only method that provides a definitive end to the risk cycle.
The Case for Full Abatement
Full removal is the superior choice for assets slated for redevelopment or intensive use. It provides a clean slate for future mechanical, electrical, and plumbing upgrades. Property data from 2025 indicates that commercial buildings with certified asbestos-free status see an 8% to 12% increase in valuation compared to those with active encapsulation plans. Removal is also a prerequisite for any structural demolition. Attempting to demolish a building with encapsulated materials is illegal and results in heavy EPA fines. By adhering to OSHA asbestos safety standards, our teams ensure that removal is performed under strict negative pressure, preventing any cross contamination of the job site. This approach removes the need for future air monitoring and specialized contractor insurance.
When Encapsulation is a Viable Strategy
Encapsulation is an engineering solution for materials that are currently stable and in hard to reach locations. It involves applying bridging agents or penetrants that create a durable chemical bond over the asbestos fibers. This strategy is appropriate in three specific scenarios:
- The material is in “good” condition with no signs of delamination or water damage.
- The ACM is located in a low traffic area where physical disturbance is impossible.
- The cost or structural risk of removal outweighs the benefit, such as with certain fireproofing sprays on load bearing beams.
It’s a common misconception that encapsulation is a permanent “fix.” Sealing requires a rigorous Operations and Maintenance (O&M) program. South Carolina health codes demand inspections every six months to ensure the sealant hasn’t cracked or degraded. If your long term goal is a worry free asset, asbestos abatement myrtle beach remains the most logical investment for your 2026 project budget.
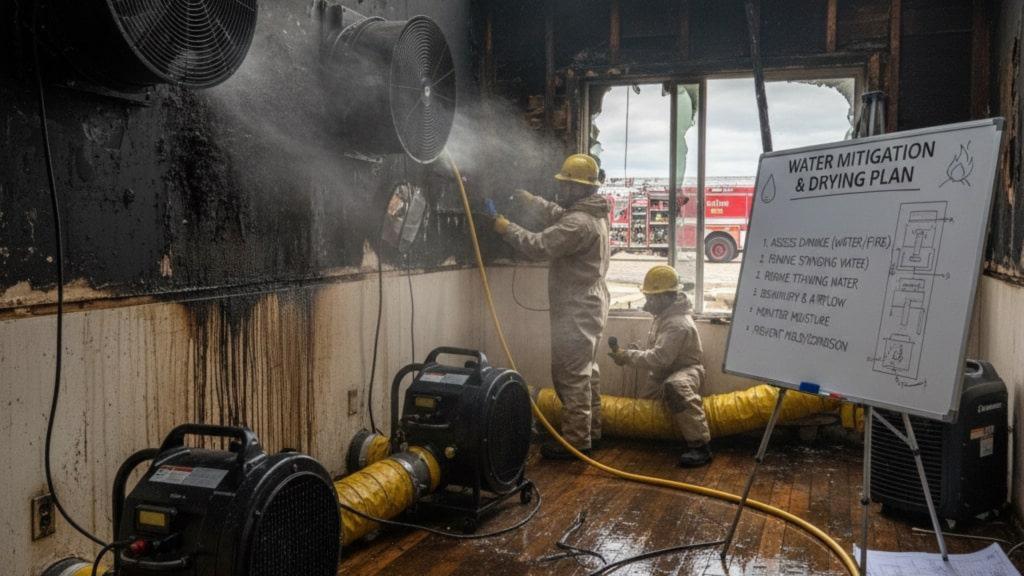
The 5-Step Protocol for Safe Asbestos Abatement
Executing a professional asbestos abatement myrtle beach project requires a disciplined engineering approach rather than simple demolition. Our protocol follows a rigid sequence to ensure that microscopic fibers never migrate beyond the regulated work zone. Since the 2024 update to South Carolina DHEC standards, the margin for error has narrowed, making technical precision the only acceptable standard for 2026 operations.
- Step 1: Comprehensive Site Inspection and Laboratory Testing. Technicians must collect at least three bulk samples per homogenous material area. These samples are analyzed by NVLAP-accredited laboratories using Polarized Light Microscopy (PLM).
- Step 2: Establishment of Critical Barriers and Negative Pressure Zones. The team isolates the area using 6-mil polyethylene sheeting. We then install Negative Air Machines (NAMs) to create a pressure differential that prevents air from escaping the containment.
- Step 3: Precision Removal and Wet-Stripping Techniques. Workers saturate Asbestos-Containing Materials (ACM) with amended water. This process uses surfactants to penetrate the material, significantly reducing the risk of fiber release during physical detachment.
- Step 4: HEPA Vacuuming and Fine Cleaning of the Remediation Area. After bulk removal, surfaces undergo a multi-stage cleaning process. We use industrial vacuums equipped with 99.97% efficiency filters to capture dust particles as small as 0.3 microns.
- Step 5: Final Clearance Testing and Regulatory Documentation. An independent third party performs air clearance testing. The project is only considered complete when fiber concentrations drop below 0.01 fibers per cubic centimeter (f/cc).
Containment and Negative Air Pressure
Engineering controls are the foundation of safety. We utilize negative air machines to achieve a minimum of four air changes per hour within the work zone. This constant airflow ensures that any airborne particles are pulled through HEPA filtration systems before the air is exhausted outside. Technicians secure 6-mil poly-sheeting with heavy-duty duct tape to create airtight seals over HVAC vents, windows, and doorways. We perform smoke tests daily to visually confirm that the containment remains under constant negative pressure and that no leaks exist in the barrier system.
Safe Removal and Disposal Techniques
During the removal phase, dry scraping is strictly prohibited. We apply amended water to keep the ACM damp throughout the entire extraction. Once removed, the hazardous waste is placed into 6-mil poly bags, sealed, and then placed into a second 6-mil bag to meet double-bagging protocols. Each container receives a specific OSHA-compliant warning label. We manage the logistics of transporting these materials to certified Class 3 landfills, ensuring that the chain of custody remains documented from the moment of removal until final burial. This level of rigor is essential for any high-stakes asbestos abatement myrtle beach project.
Engineering Excellence in Hazardous Material Removal
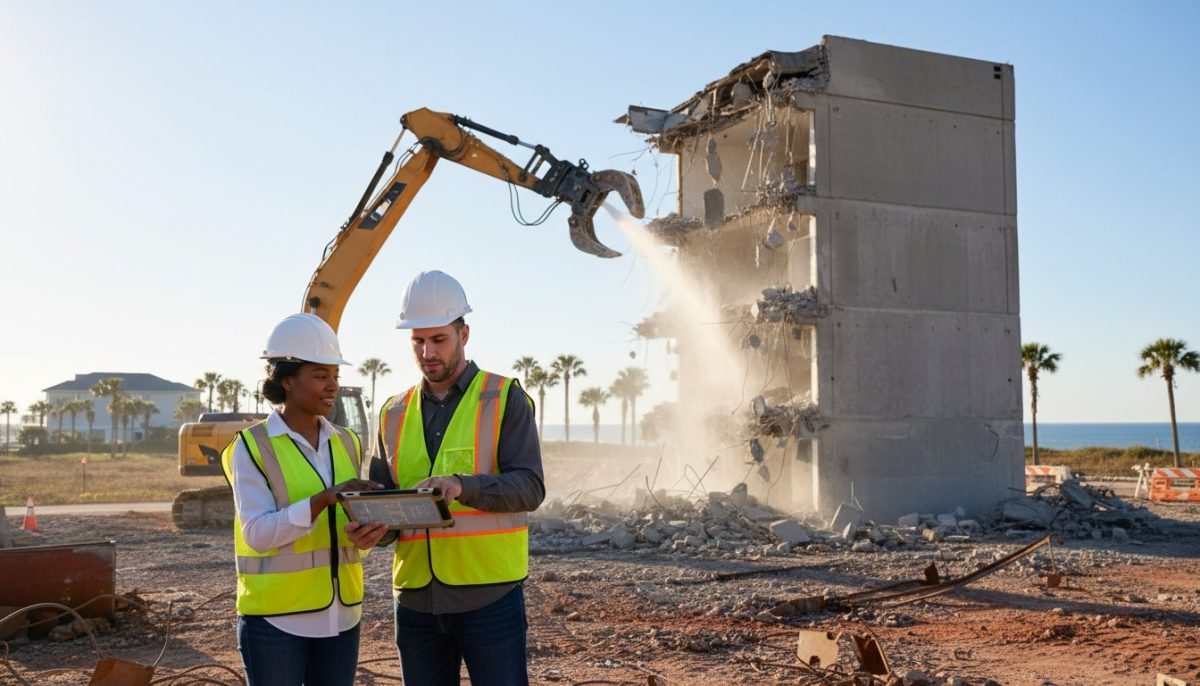
Success in asbestos abatement myrtle beach requires more than basic containment; it demands a sophisticated engineering mindset. TSIAC International treats every remediation project as a high-stakes technical challenge. We don’t just remove hazards. We manage the structural and environmental risks that others avoid. By integrating abatement directly into the demolition phase, we eliminate the friction between separate contractors. This unified workflow prevents 15% to 20% of typical project delays caused by miscommunication between remediation teams and demolition crews. Our approach ensures that the structural integrity of the building remains uncompromised during the removal of friable materials.
The TSIAC International Approach
Since 2009, our teams have managed high-risk sites involving complex industrial alpinism and intricate structural supports. We specialize in “impossible sites” where traditional access methods fail. Our 15 years of field data shows that precise engineering planning reduces onsite accidents to near zero. Environmental stewardship drives our process through the following protocols:
- Structural stability assessments: We evaluate load-bearing elements before any hazardous material is disturbed.
- High-altitude containment: Specialized systems designed for multi-story structures in high-wind coastal environments.
- Real-time telemetry: Constant monitoring of air quality and pressure differentials within the work zone.
- Aggressive recycling: We prioritize the recovery of materials, successfully diverting up to 88% of non-hazardous debris from South Carolina landfills.
This commitment to recycling reduces the carbon footprint of your project while significantly lowering disposal fees for the property owner. We don’t see waste as an afterthought; we see it as a resource to be managed with precision.
Securing a Professional Consultation
Choosing the lowest bid for asbestos abatement myrtle beach often results in hidden costs, project creep, or severe regulatory penalties. TSIAC International provides fixed-price contracts that include comprehensive air monitoring results and disposal manifests. These documents are essential for your 2026 compliance audits and long-term liability protection. We deliver a transparent close-out package that confirms every milligram of hazardous material was handled according to EPA and DHEC standards. Our clients receive a digital vault of all permits, worker certifications, and waste shipment records within 14 days of project completion.
Contact TSIAC International for a Professional Abatement Assessment to ensure your property meets the highest safety and engineering standards.
Securing Your Industrial Infrastructure for 2026
Navigating hazardous material removal requires more than basic caution; it demands rigorous adherence to the latest 2026 EPA and OSHA standards. A structured 5-step protocol ensures structural integrity while eliminating microscopic risks that compromise long-term safety. For industrial managers and property owners, professional asbestos abatement myrtle beach is a critical investment in both regulatory compliance and site safety. We’ve shown that engineering excellence is the only way to manage these complex environmental hazards effectively without risking costly litigation or health crises.
TSIAC International brings 15+ years of hazardous material remediation experience to every job site. We’re fully licensed and insured for large-scale structural removal, ensuring that even the most difficult technical challenges meet federal mandates. Our team maintains a strict commitment to EPA and OSHA compliance on 100% of our projects. We don’t just clear the air; we provide a foundation of safety for your next phase of construction through disciplined technical execution.
Don’t leave your facility’s compliance to chance. Request a Professional Abatement Quote from TSIAC International to secure your property today. You can trust our engineering precision to handle your most demanding remediation needs with absolute reliability.
Frequently Asked Questions
Is asbestos abatement required before every demolition project?
South Carolina law requires a thorough inspection and subsequent asbestos abatement in Myrtle Beach before any demolition of a commercial or public facility. Regulation 61-86 from the SCDHEC mandates that owners identify all asbestos-containing materials before any structural disturbance occurs. If an inspection reveals more than 160 square feet or 260 linear feet of friable asbestos, you must complete full remediation. This protocol ensures that hazardous fibers don’t enter the local environment during mechanical demolition.
Can I stay in my home or office during the asbestos removal process?
You shouldn’t remain in the immediate work area while crews remove friable materials. While small non-friable removals might allow for limited occupancy in separate zones, standard safety protocols require total site evacuation to prevent accidental exposure. Professionals establish a negative pressure enclosure using HEPA filtration systems to contain dust. You can typically return only after a third-party laboratory confirms the air contains fewer than 0.01 fibers per cubic centimeter.
How long does a typical asbestos abatement project take to complete?
A standard residential project covering 1,500 square feet typically requires 3 to 5 business days from setup to final clearance. This timeline includes 1 day for containment area construction, 2 days for actual material removal, and 24 hours for final air monitoring and lab analysis. Larger commercial sites in Horry County may take 14 to 21 days depending on the complexity of the HVAC systems and structural accessibility. Weather conditions rarely impact indoor timelines.
What is the difference between an asbestos survey and an abatement plan?
An asbestos survey identifies the location and condition of hazardous materials, while an abatement plan outlines the specific engineering controls used for removal. The survey follows EPA AHERA protocols to sample materials like floor tiles or pipe insulation. Once the lab confirms asbestos presence above 1%, the abatement plan defines the work area boundaries, the number of air scrubbers needed, and the disposal route to a licensed landfill. You need both documents to maintain legal compliance.
How do I know if the air is safe after the abatement is finished?
Safety is verified through post-abatement air clearance testing conducted by an independent environmental professional. The technician uses Phase Contrast Microscopy or Transmission Electron Microscopy to analyze air samples from the work zone. In South Carolina, the air is considered safe for re-occupancy only when fiber concentrations fall below the 0.01 f/cc threshold. This empirical data provides a legal record that the asbestos abatement in Myrtle Beach was successful and the environment is secure.
Can a general contractor perform asbestos removal without a specific license?
No, a general contractor can’t legally remove asbestos without a specific license from the South Carolina Department of Health and Environmental Control. Handling these materials requires specialized training and certification under the Asbestos Hazard Emergency Response Act. Unlicensed removal often leads to civil penalties exceeding $10,000 per violation and creates severe health risks for occupants. Always verify that your contractor holds a valid certification before they begin any hazardous material handling.
What happens if asbestos is discovered mid-project during a renovation?
You must stop all work immediately and seal the affected area if you suspect asbestos during a renovation. Once the site is secure, an accredited inspector must sample the material and submit the findings to the state. If the test is positive, you’ll need to file a 10-day notification with SCDHEC before professional removal begins. This pause prevents the spread of fibers through the building’s ventilation system and protects workers from illegal exposure levels.